How to Crop a Screenshot on a Mac in 2026
You crop a screenshot, hit Copy, and paste it into a document, but the full uncropped image shows up again. Or you see the screenshot thumbnail with your edits in the bottom-right corner, but it is not clear how to copy that version.

On this page
Both situations are confusing, and it is not your fault. macOS has three ways to crop a screenshot, but they do not all work the same way. We usually start with Preview, so let’s begin there.
The Short Answer: Preview
Preview is the default macOS app for opening images and PDFs. It is free, comes with your Mac, and is usually the quickest way to crop a screenshot that is saved as a file.
Here is the basic Preview crop:
- Right-click the screenshot file.
- Choose Open With from the context menu.
- Choose Preview.
- Once the image is visible in Preview, press and hold the left mouse button or trackpad button.
- Select the area of the photo you want to keep.
- Click the icon with the pencil in the circle in the toolbar at the top to open the editing tools.
- Click the crop icon in the extra toolbar that appears below.
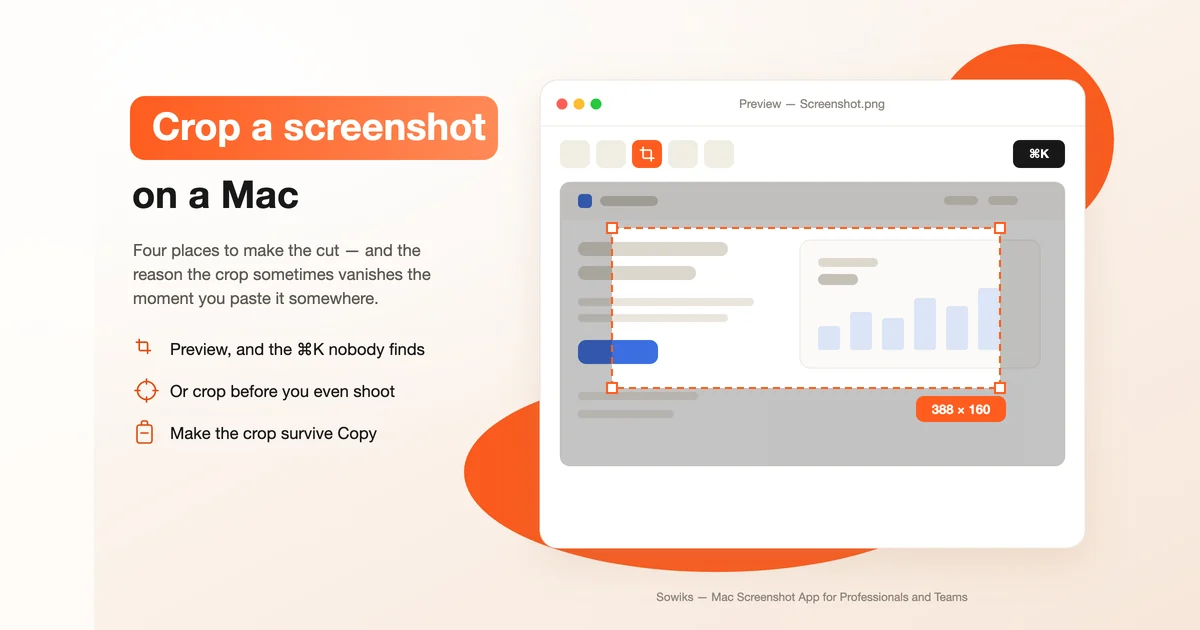
You can also use Tools > Crop in the menu bar at the top left, or press ⌘K after making your selection. In all cases, Preview automatically saves your changes to the current file, so you can close the window when you are finished.
If you want to save a new copy instead of changing the original file, go to File → Export. There, you can pick the image quality and file format, and Preview will show you the estimated file size.
Preview is simple, but it is the built-in tool we use first. However, if you just took the screenshot, there is an even quicker way to start.
Crop from the Thumbnail, Immediately After the Shot
If you just took the screenshot, you might not need to open it in Preview. The small thumbnail in the bottom-right corner is more than just a preview—you can click it.
Clicking the thumbnail opens the screenshot for instant editing. You can crop it, add markings, and then save or copy your changes.
The thumbnail is easy to miss because it appears for only a few seconds. If you ignore it, macOS saves the screenshot, and you will need to use Preview. If you click it in time, you can edit the screenshot right away.
The thumbnail is handy for quick edits or markups. If you want to crop the image and save it as a regular file, Preview is usually simpler. Sometimes, it is even better to crop before taking the screenshot.
The Best Crop Is the One You Don’t Make
Cropping after taking the screenshot works, but it is not always the quickest way. If you already know what you need, capture that part of the screen.
Use these shortcuts:
- Press ⇧⌘4.
- The cursor changes to a crosshair icon.
- Use the trackpad to select the portion of the screen you want to capture.
- Release to take the screenshot.
For a window capture:
- Press ⇧⌘4 then Space.
- The cursor turns into a Camera button.
- Click the window you want to capture.
Screenshots are saved to your Desktop by default, but sometimes you do not need a file. You might want the image on your Clipboard to paste elsewhere.
To do that, press ⌃⌘⇧3 to copy the whole screen to the Clipboard, or ⌃⌘⇧4 to copy just a selected area.
We cover the built-in shortcuts separately in the guide to taking a screenshot on a Mac. That brings us to the awkward bit. Clipboard screenshots are fast, but edited thumbnail screenshots can behave differently from what you expect.
Why the Crop Disappears When You Copy
This is what makes cropping screenshots on a Mac feel broken.
“Every time I crop it and click ‘copy’, the uncropped image is reproduced in my text editor?”
You take a screenshot, click the thumbnail, crop it, and add a line or some text. Then you click Copy, paste it into your text editor, and the uncropped image appears.
The difference is where the crop lives. In Preview, the crop is written to the file, so anything that reads it gets the cropped version. In the thumbnail Markup window, nothing is written to a file yet, and a plain Copy hands over the actual capture instead of what you see.
The Ctrl shortcuts above do not help here. They put the raw capture on the Clipboard, and the point is you have already cropped and marked the shot.
The fix is blunt:
- Make the crop or markings in the screenshot editing window.
- Press ⌘A.
- Copy.
- Paste into the app you need.
That works when a normal Copy gives you the genuine uncropped screenshot. It is not elegant but is reliable.
Dragging the edited image into another app is awkward too. If you try to grab it with the mouse, drag it back and forth, and nothing happens, stop fighting it. In this case, use ⌘A and copy/paste.
In Preview, the behavior is easier to understand. Preview saves changes automatically to the current file, so when you close the window, the cropped version is the file. When size must be precise, pay attention before applying the crop.
Exact Dimensions and Same Proportions
Sometimes the right area isn't enough. You may need screenshots with the same ratio or size each time.
For a rectangular crop:
- Enable rectangular selection.
- Mark the image section by holding down the mouse button.
- Adjust the area at the sides and corners.
The preview displays the exact pixel dimensions as you change the selection size, and that's what to watch while you drag.
If you need a particular aspect ratio, calculate pixel dimensions in advance — for example, 21:9 at 3255 x 1395.
When you are working in Photos instead of Preview:
- Open the photo.
- Click the Edit button in the top right.
- Press the Crop tab at the top.
- Use the sliders located at the corners of the image.
- Use the sidebar on the right to select a standard crop format, if needed.
- Click the Auto button, if needed.
- Or provide exact values by filling in the appropriate fields.
- Press the yellow Done button in the top right.
Photos is better when you care about a standard crop format or exact values. Preview is less work for a screenshot you need to paste.
Crop Multiple Images at Once
If you need to crop one screenshot, do not complicate it. Use Preview.
When you need to crop a batch of images, use a batch tool. One option is XnConvert. It is free software for basic image editing across common file formats, including batch cropping.
The batch flow is:
- Select the Input tab at the top.
- Drag the images to be cropped into it, or add them by clicking the Add files or Add folder button.
- Go to the Output tab.
- Select the location where you want to save the output files.
- Select the Actions tab.
- Click Add action.
- Choose Transform.
- Choose the crop action you need: use Crop to set the parameters yourself, use Automatic crop to have the operation handled automatically, or use Zealous crop to remove areas deemed unnecessary.
- Fill in the form specifying the dimensions.
- Click the Convert button.
This isn't the tool we would use for a single screenshot. For a folder of them, it pays for itself the first time.
Crop with a Shape Other Than a Rectangle
Most screenshot crops are rectangles, but sometimes you want a different shape, for example, a circle.
In Preview:
- Press the ⌵ button located next to the dotted square icon visible after expanding the Preview toolbar.
- Choose the selection tool you want from the menu that appears.
- Draw the selection area.
- Crop as already explained.
- If you see a warning asking whether you want to convert the document to PNG format, click the Convert button to confirm.
The control is easy to miss because it is tucked behind the selection menu rather than in the toolbar.
The Original
One important difference exists between Preview and Photos.
In Preview, changes are saved automatically to the current file. If you crop the screenshot and close the window, that file is now cropped.
In Photos, you press the yellow Done button to apply and save the changes, but the library keeps the original version.
So pick the app based on what you need. If you want to crop a screenshot file right now, use Preview directly. For an image managed in your Photos library, Photos keeps the original whilst saving your edit.
FAQ
How do I cut part of a screenshot?
Open it in Preview, drag to select the part you want to keep, and press cmd+K.
How do I take screenshots and snips on Mac?
Press Shift + Command + 4, drag over the area you want, and release.
How do I edit screenshots on Mac?
Use the thumbnail window right after taking the screenshot, or open the file in Preview and use the Markup toolbar. The editing toolbar includes crop and resize, and lets you add text, draw arrows, create shapes, and highlight important sections.
How do I crop in a screenshot and make sure it saves?
Use Preview, where saving is simplest: open the screenshot, select the area to keep, use Tools > Crop or cmd+K, then close the window. The crop is saved automatically to the current file.
Vasyl is a Product Marketing Manager at MySignature with experience in SEO and Growth. He has been featured on HubSpot, The Next Web, ActiveCampaign, and other well-known marketing blogs.
Crop it once, paste it anywhere
Sowiks opens every capture straight in its editor, so the crop you make is the crop that lands on the clipboard.
Download Sowiks for Mac