How to Take a Screenshot on Mac in 2026: A Complete MacBook Guide
macOS comes with a built-in tool for taking and editing screenshots. For most MacBook, iMac, and Mac Mini users, it does the job well, especially once you learn its features. However, some screenshot options are easy to miss, and a few useful features are missing. This guide explains how to take screenshots on a Mac using the built-in tools and also lists some of the best third-party screenshot apps.


On this page
How to Screenshot on Mac with Built-In Tools
If you don't need advanced editing and don't want to add extra software, the built-in screenshot tool is enough. Apple makes it easy to capture and edit pictures or even videos with just a few keys, no extra apps needed.
The Screenshot app is available on macOS Mojave 10.14 and later. You can open it with a keyboard shortcut or by using Spotlight. It is also found in Applications under Utilities. If you prefer, you can drag its icon to the Dock for easy access.
Mac Screenshot Shortcut: Key Combinations to Know
The easiest way to take a screenshot on a Mac is to open the built-in Screenshot app. You can do this by pressing ⇧⌘5, or by opening Spotlight with ⌘Space, typing “Screenshot,” and pressing Enter.
If you use Spotlight alternatives like Raycast or Alfred, their shortcuts may differ. However, the steps to launch the screenshot tool remain the same.
When you open the Screenshot app, a toolbar shows up at the bottom of the screen. You can capture the whole screen, a single window, or a chosen area. The toolbar also lets you record video of a window or part of the screen, which is useful for quick tutorials. But it doesn’t use the webcam, so if you want to show your face and screen at the same time, you’ll need a different tool.
One downside is that this method takes a few extra steps. You have to open the tool, choose a capture mode with your mouse or trackpad, and then click Capture. You can speed this up by learning some keyboard shortcuts.
| Shortcut | What it captures | Where it lands |
|---|---|---|
| ⇧⌘3 | The entire screen | File |
| ⌃⇧⌘3 | The entire screen | Clipboard |
| ⇧⌘4 | A selected area | File |
| ⌃⇧⌘4 | A selected area | Clipboard |
| ⇧⌘5 | Opens the Screenshot toolbar | Your choice |
| ⇧⌘6 | The Touch Bar, on models that have one | File |
| Esc | Cancels the capture before it is taken | — |
If you save a screenshot to the clipboard, it won’t appear on your desktop or in your files. You can paste it into any app, text editor, or other place by pressing Command-V.
Small shortcuts that save real time
- After pressing ⇧⌘4, press and hold Space: the selected frame will move around the screen without changing size.
- If you have already started selecting an area and realize you need the screenshot in the clipboard, hold Control while dragging the frame. In other words, you can choose “file or clipboard” while selecting the area, not beforehand.
- To copy a screenshot you have already taken to the clipboard, Control-click its thumbnail in the corner of the screen and choose Copy to Clipboard.
- The thumbnail in the corner disappears after a few seconds, but if you move the pointer over it, it will stay on the screen until you move the pointer away.
Changing the shortcuts
- Open macOS System Settings.
- Scroll down the menu and find Keyboard.
- In the settings, find Keyboard Navigation and click Keyboard Shortcuts.
- In the window that opens, find and click Screenshots.
- Double-click one of the keyboard shortcuts, or double-tap it on the trackpad.
- Press the new key combination you want to use, then click Done.
To go back to the default settings, click Restore Defaults in the same window. This will reset all shortcuts to their original settings.
Avoid assigning screenshot shortcuts that are already used by the system or other apps. For example, Command-Shift-S is usually “Save As…” in most apps, so changing it would remove a shortcut you might need.
How to screenshot a window on Mac or capture a menu
The Screenshot toolbar has a window capture mode, but there is also a faster shortcut many people don't know.
- Open the window or menu you want to capture.
- Press ⇧⌘4, release the keys, then press and release Space: the pointer will turn into a camera icon.
- Move the camera over the window you want and click.
Your Mac will capture only that window, leaving out the background and extra edges, and will add a semi-transparent shadow by default. If you do not want the shadow, hold Option while clicking the window. To send the screenshot straight to the clipboard, hold Control while clicking. Press Esc to cancel.
How to take a scrolling screenshot on Mac
The built-in screenshot tool does not support long or scrolling screenshots. The best way is to take a scrolling screenshot on a Mac with third-party apps, which we discuss below, or by using browsers like Firefox that support this feature. There is one workaround, but it is not very easy or obvious.
- Open the page you need in Safari.
- In the menu bar, choose Safari → Settings.
- On the Advanced tab, select the “Show features for web developers” checkbox, then close Settings.
- With the page open, press ⌘⌥I.
- Open the context menu on the <html> line, either by right-clicking or by tapping the trackpad with two fingers.
- In the context menu, click Capture Screenshot.
Where do screenshots go on Mac?
By default, all screenshots are saved to your desktop, unless you copy them to the clipboard. The file name will look like “Screenshot [date] at [time].” You can change where screenshots are saved or send them directly to other apps.
- Open the Screenshot app using any of the methods described above.
- Click the Options button in the toolbar.
- Choose what to do with the new screenshot.
You can save your screenshot to Documents, send it with iMessage or Mail, or pick a different default location. To change the location, click Other Location…, choose a folder, and click Save.
You can use the Options menu to set a 5- or 10-second timer before taking a screenshot or starting a screen recording. This helps if you need extra time to open an app, folder, or get your screen ready.
The Options menu also has two settings that are easy to overlook. One lets you turn off the floating thumbnail animation in the corner of the screen. The other lets you show the mouse pointer in your screenshot. By default, the pointer is hidden, so if you want to show where to click in instructions, turn this on.
On supported Mac models with macOS Tahoe 26 or later, the same menu also lets you choose the screenshot format: SDR, which uses standard dynamic range and a PNG file for maximum compatibility, or HDR, which uses high dynamic range and a HEIF file.
One more tip: you do not have to wait for the screenshot to land on the desktop. You can drag the thumbnail from the corner of the screen straight into a folder, a chat, or an already open document.
In Options, the Remember Last Selection checkbox is enabled by default. That means your screenshots will be saved to the folder you chose most recently. You can uncheck this checkbox if you want screenshots to save to the desktop by default next time.
How to crop and edit a screenshot on Mac: add text and drawing tools
After you take a screenshot, its thumbnail appears in the lower-right corner of the screen for a few seconds, then moves to the desktop. Either way, you can click it to edit the image with built-in tools. Open it from the thumbnail or from the desktop, and the image will appear in a new window. Click the editing button in the upper-right corner. Additional tools will then appear in the top toolbar:
- Sketch
- Shapes
- Text
- Highlight a selection
- Add a signature
- Adjust line thickness and colour
- Adjust fonts
- Rotate the image
- Crop the image
- Add a comment
- Leave a note on iPhone
The same set of tools is available in Preview: if the screenshot is already saved on your disk, double-click it to open it, then click the Markup icon in the top toolbar. Trimming the image has its own quirks, which we cover in the guide to cropping a screenshot on a Mac. On MacBook models with Touch Bar, some editing tools are also mirrored directly on the touch strip.
For basic needs, this is usually enough. If you need more image-editing tools, it is worth looking at third-party apps.
Some apps, such as Apple TV, block screenshots of their windows to protect content, so the screenshot shows an empty rectangle. Another common issue is that when you press the keyboard shortcut, focus switches to the system, so an open drop-down menu or tooltip may close before it is captured. In these cases, the 5- or 10-second timer in the Options menu helps.
Screenshots in macOS 27 Golden Gate: what changed
In June 2026, at WWDC, Apple showed macOS 27 Golden Gate, with a public release expected in the fall. The keyboard shortcuts and the Screenshot panel have not changed, so everything described above still works as before. What has changed noticeably is what you can do with a screenshot afterward.
A screenshot has become a way to ask the system a question. You capture what you see on the display, whether it is an image, PDF, web page, or document, and ask Siri AI about it. In response, you can get an explanation, a search result, or a specific action.
Inside a screenshot, you can select an object and use Ask Siri, image search, or help. Visual Intelligence, which previously lived only on iPhone, now works on Mac too.
AirDrop finally sends batches of files quickly. Before Golden Gate, transferring several screenshots at once often froze or failed.
Best Screenshot Apps for Mac in 2026
If you take dozens of screenshots every day, such as writing specs for a designer, documenting website bugs, collecting competitors’ creatives, or preparing client reports, the built-in utility may no longer be enough. You need a full workflow: capture, annotate, blur private information, get a link, and send it to a colleague in seconds. The tools below cover that, and if you want them weighed against each other rather than listed, we compared them in the best screenshot app for Mac.
Sowiks
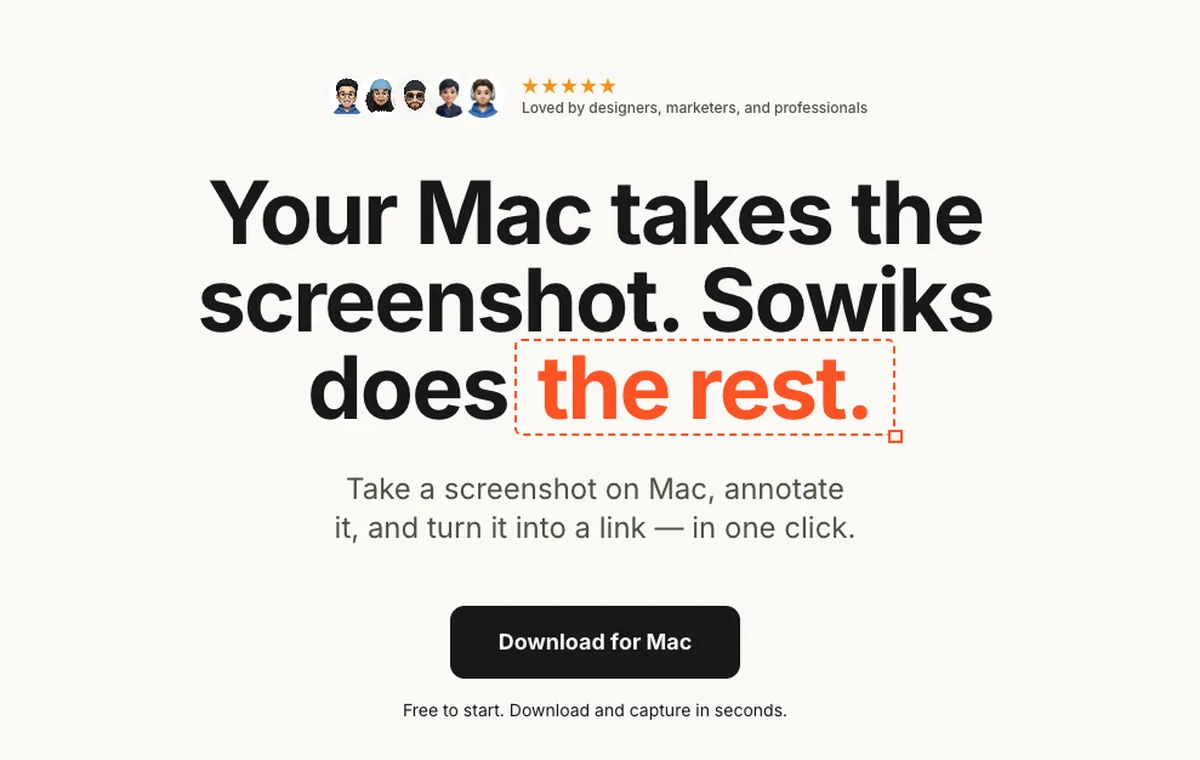
Sowiks is a macOS app that lives in the menu bar and takes you from capture to a ready-to-share link. In addition to screenshots, it records video and GIFs, organizes everything in its own cloud gallery with filters by file type, and lets you share with a single link, including a password and expiration date for sensitive material. You can sign in with Google or Apple, with no separate password required. Everything is unlocked for seven days, after which window capture and the editor stay free, and Solo is a one-time $19.99 purchase.
Download Sowiks for MacOther screenshot tools for Mac
| Tool | Platforms | Price |
|---|---|---|
| ShareX | Windows | Completely free |
| Greenshot | Windows, macOS | Free on Windows, paid on macOS |
| Lightshot | Windows, macOS, browser | Free |
| Monosnap | Windows, macOS | 7-day trial, then a limited free plan |
| Snagit | Windows, macOS | Trial only, then paid |
| PicPick | Windows | Free for personal use |
| Awesome Screenshot | Chrome extension | Free version available |
| CleanShot X | macOS | Paid |
| Markup Hero | Windows, macOS, browser | Free version available |
| Zappy | Windows | Completely free |
ShareX
Built-in editor, dozens of capture modes, automatic file uploads, GIF support, and integrations with cloud services.
Watch out for: A complex interface, so that beginners will need some time.
Greenshot
Simple interface, convenient annotations, and export to Word and Excel.
Watch out for: A modest feature set and no Linux version.
Lightshot
Fast capture, highlighting and labels, and instant image links.
Watch out for: No full-featured screen recording.
Monosnap
Screen recording, cloud storage, share links, and screenshot comments.
Watch out for: Some professional features require a subscription.
Snagit
A powerful editor, long scrolling screenshots, design templates, and video recording.
Watch out for: The licence is expensive.
PicPick
Combines a screenshot tool with an image editor and offers many capture modes.
Watch out for: No macOS or Linux versions.
Awesome Screenshot
Screenshots and full-page captures in the browser, annotations, video, and joint effort.
Watch out for: Some features require a subscription.
CleanShot X
Hides desktop clutter automatically, blurs data, cloud sharing, and high-quality screen recording.
Watch out for: macOS only.
Markup Hero
Built for collaboration: screenshot comments, cloud storage, and share links in seconds.
Watch out for: The full feature set is in the paid version.
Zappy
Instant image sharing with no extra setup.
Watch out for: No blur, video recording, or advanced editing.
How to choose the best screenshot app for Mac
Before you install anything, think about the tasks you handle every day. Your choice depends on them.
| What to weigh | Why it matters |
|---|---|
| Platform | Some apps work only on Windows, others only on macOS, and others exist solely as browser extensions. If your team uses different systems, choose a cross-platform option. |
| Annotations | Arrows, shapes, highlights for important areas, text, and data blurring. Almost every work screenshot needs at least one of these. |
| Cloud links | The ability to upload a screenshot to the cloud right away and send a link instead of a file. This is most useful when coordinating with clients and contractors. |
| Screen recording | When you need to show a sequence of actions or reproduce a bug, video saves far more time than a series of images. |
What to check before you send a screenshot
A screenshot of your work screen almost always captures more than you intended. Before sending it, make sure the frame does not include:
- clients' personal data
- logins and passwords
- ad budgets and financial information
- data from CRM systems
- corporate email addresses and phone numbers
- internal employee comments
If you could not hide the information on the screen itself, cover it with a blur tool. Almost every app listed above has one.
FAQ
How do I take a screenshot quickly?
To quickly take a screenshot on Mac, press Command-Shift-3. The screenshot will be saved to the Desktop.
How do I screenshot a selected area?
To capture a selected area, press Command-Shift-4, select the area you want, and press Enter.
How do I capture just one window?
Press Command-Shift-4, then Space. The pointer changes to a camera icon. Click the window you want, and your Mac captures only that window, without the background. To remove the window shadow, hold Option while clicking.
How do I copy a screenshot straight to the clipboard?
Add Control to the usual shortcut: Control-Shift-Command-3 for the entire screen and Control-Shift-Command-4 for a selected area. This screenshot will not appear on the Desktop. Paste it into the app you need with Command-V.
Can I take a scrolling screenshot on a Mac?
macOS built-in tools do not support long screenshots. You can use third-party apps such as Shottr, CleanShot X, or others, or a browser that supports this feature, such as Firefox.
Where can I find all my saved screenshots?
By default, all screenshots are saved to your Mac's Desktop. You can change the location in the settings by pressing Command-Shift-5, then choosing Options and Other Location… under Save to.
How do I change the screenshot shortcut?
Open System Settings → Keyboard → Keyboard Shortcuts → Screenshots and assign your own shortcut. Just don't use Command-Shift-S; in most apps, that is Save As….
Why is my screenshot blank?
Some apps block screenshots of their windows for content protection, such as Apple TV. In that case, the screenshot will show an empty rectangle, and there is no way to bypass this with the built-in tools.
Vasyl is a Product Marketing Manager at MySignature with experience in SEO and Growth. He has been featured on HubSpot, The Next Web, ActiveCampaign, and other well-known marketing blogs.
From capture to link, in one step
Sowiks captures, annotates and shares from the macOS menu bar. Free for local capture and editing.
Download Sowiks for Mac