How to Record Yourself on a Mac
You’re staring at a MacBook camera with five minutes before a class upload, and all you need is a clean video of yourself. Many of us have faced this: one take had the wrong microphone, another had a pop-up notification on the screen.

On this page
QuickTime Player is a great starting point because it’s already installed on every Mac and makes recording webcam footage simple, without needing to master complex editing tools.
The Short Answer: Record Yourself with QuickTime Player
QuickTime Player is preinstalled on your Mac. It can record your screen and a simple webcam video.
- Open QuickTime Player. You can find it in your Applications folder, or use Spotlight search with ⌘Space.
- Click File in the top menu bar.
- Select New Movie Recording.
- In the window that appears, click the down arrow next to the record button.
- Choose your camera and check the video preview.
- Check which microphone is selected before you start. The Mac can grab the wrong input.
- Leave the quality setting alone unless you need to change it. Maximum creates very large files.
- If everything looks correct, click the red record button.
- When you are finished, click the Stop button in the menu bar.
- Choose File > Save.
- Name the file and choose where to save it.
That is the simplest way to record yourself on a Mac. For quick job application clips or video messages, this method works well.
The only awkward part is the tiny options arrow. If you skip it, you can end up with a good-looking video but the wrong mic. It’s wise to pause for a quick setup first.
Before Pressing Rec
A short setup before recording, even for a one-minute video, saves more time than it takes.
Equipment check
Double-check that your Mac’s built-in camera works, then quickly test the microphone and check the audio levels to ensure your recording sounds clear.
Clean up the screen
If recording the screen, close extra tabs and remove desktop clutter, leaving only what should be visible. (Wiping the glass never hurts, either.)
Storage space
Videos can take up quite a bit of space, so it’s worth checking your available storage before you hit record.
Screen recording prep
Close windows and programs that shouldn’t be captured in the recording, and turn off notifications so they don’t appear during the take.
Test recording
Try a quick 10-second test recording to make sure your video and audio look and sound the way you want—this small step can save you headaches later.
Room setup
If on camera, make sure the room is well lit. If recording voice, try to avoid background noise when possible.
None of this is fancy—it’s simply the difference between one usable take and several frustrating ones.
Photo Booth: the Shortcut
If QuickTime feels like too many clicks, Photo Booth is a fast shortcut. It’s already on the Mac and mainly known for photos, but it can also record video.
- Launch Photo Booth from the Applications folder or via Spotlight.
- At the bottom left, look for the three options.
- Click the icon with two rectangles for video.
- Press the red button.
- Wait for the countdown before recording starts.
- Click the stop button when you are finished.
- Your video will appear in the Photo Booth library at the bottom of the app.
- To save it, drag the video from the library to your desktop.
One small trick helps: Hold ⌥ while clicking Record to skip the countdown.
Photo Booth is fine for a casual webcam clip but a bit clumsy. Dragging the finished video out of the library feels outdated. It does not offer the best camera quality and can produce lower-resolution video than the FaceTime camera, so it may not be suitable for important recordings.
iMovie: When You Know You Are Going to Cut
If you need to trim or edit, iMovie is a good choice instead of recording first and importing later. It’s a simple built-in video editor for Mac that can record from the webcam in a new project.
- Open iMovie through the Mac Applications folder.
- Choose My Movie in the Project Media section.
- Click the Import button.
- Select the FaceTime HD Camera under Cameras in the upper-left corner.
- Click the Record button in the center when your webcam preview appears.
- Click the same button again to stop recording yourself.
With iMovie, recordings from the Mac’s webcam are automatically imported into the folder selected in the Import to menu.
This is not the fastest way to record yourself. It makes sense when recording is just the first step and you plan to edit anyway. However, it doesn’t solve the request that brings most people here in the first place.
You and Your Screen at the Same Time
This is where built-in tools get awkward. A class assignment, product demo, or work walkthrough often requires your face and screen to appear in the same video.
Built-in tools can’t do both at once. QuickTime records either the camera or the screen, not both in the same file. The ⇧⌘5 toolbar does not use the webcam.
If you only need a plain screen recording, use the built-in screen recorder on a Mac. If you need a face overlay, use a separate recorder.
The basic pattern is the same each time: turn on the webcam and check the preview, resize the camera window, place it within the recording area, then choose System Sound or Microphone and press REC.
Avoid putting the webcam bubble dead center or too low. Bottom-right is usually safest unless the app being recorded has controls there. Close chat apps before screen recording, or enable Focus mode if you can’t close them.
“the built-in Screenshot utility (cmd+shift+5) is more capable than most people realize […] that said, if you need webcam overlay, zoom-to-cursor, and keypress display all in one, youll probably need a dedicated tool.”
From a thread asking what people actually use to record their screen on a Mac. The consensus is that the built-in recorder covers more than most people expect — right up to the point where the camera has to be in the frame too.
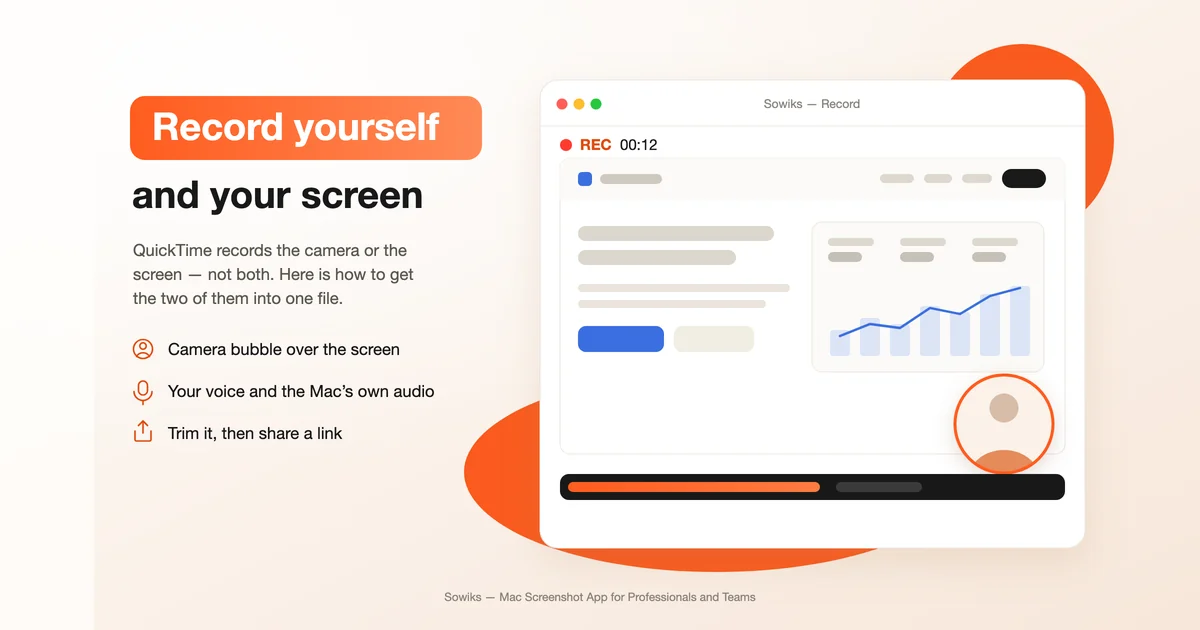
- Choose the screen, camera, mic, and system sound to record.
- Move the camera bubble away from the part of the screen you need to show.
- Stop recording, then trim or share the link.
That is the less awkward answer when the final file needs both your camera and your screen. Whichever recorder is chosen, the next thing to get right is the sound.
Sound
Audio issues have a way of sneaking by unnoticed, only to show up when you play back the finished recording. Taking a moment to double-check can save you from unpleasant surprises.
QuickTime Player cannot record system sound. Native Mac tools and QuickTime cannot record the computer’s internal audio, so you’ll need extra software — such as Soundflower, iShowU Audio Capture, or BlackHole, which provides a virtual audio driver. Apple has never confirmed why this is not a native option.
For voice recording, open the Mac’s Sound settings, check input device options, make sure the correct microphone is selected, and confirm it’s not muted. If using an external microphone, confirm it’s properly connected.
Headphones can help make audio clearer by reducing background noise.
If using an external microphone, avoid speaking directly into the front unless that’s how it’s meant to be used. Speak just next to it or at an angle, and place something soft behind the microphone to absorb echo.
The Image
Once you’re happy with the audio, focus on how things look. You don’t need a fancy studio—just make sure there’s enough light and that the camera angle feels natural.
Use your iPhone as a camera. If the Mac runs macOS 13 or later and you have an iPhone or iPad with iOS 16, you can use the mobile device’s better camera instead of the Mac’s built-in one.
- Make sure all devices are signed in with the same Apple ID.
- Turn on Wi-Fi and Bluetooth on both the Mac and the iPhone or iPad.
- Position the mobile device or point it toward yourself.
- Open FaceTime, QuickTime Player, or Photo Booth on the Mac.
- The iPhone camera should be recognized and open automatically.
- If it does not, go to Video and choose iPhone Camera.
For lighting, use a well-lit space. Natural light is often best. Avoid backlighting, as it can darken the face.
Keep the background calm and tidy so it doesn't pull attention away from the subject.
For framing, keep the subject centered with the top of the head and the middle of the chest visible. Leave a little space above the head and set the camera at eye level to avoid looking up or down at the viewer.
If the video looks poor, clean the camera lens. Smudges and dust can make the camera look worse than it is.
When It Does Not Work
When a recording fails on a Mac, check permissions before blaming the app.
Open System Settings > Privacy & Security, make sure the app has access to Camera, and for screen capture apps, make sure it has access to Screen & System Audio Recording.
If QuickTime isn't recording, check whether it has permission to access the screen in System Settings. Then restart the recording process.
When recording lags, close extra apps and tabs because they use memory. Restart the Mac if it still feels slow.
If saving or exporting gives trouble because the file is larger than expected, change the format. QuickTime can export in lower resolutions.
To reduce file size in QuickTime Player, choose Quality: Medium. After recording, you can also compress or convert the video file to a more efficient format, such as H.264 or HEVC.
Don’t forget to check your battery before you start—video recording can drain it fast, and nobody wants to lose their work because the Mac powered down mid-take.
FAQ
Does Mac have a built-in recorder?
Yes. Mac has QuickTime Player and the Screenshot tool (Cmd + Shift + 5).
What app should I use to record myself on Mac?
QuickTime is ideal for a quick webcam recording. Photo Booth works for very casual clips. Use iMovie to edit the video, and use a separate recorder if you need both the camera and screen in the same file.
How do you record your face on a Mac?
Open QuickTime Player, select File > New Movie Recording, choose the camera and microphone, and then press the red record button.
How do I screen record on Mac with camera?
The built-in tools do not have the capability of recording both the screen and the webcam into the same file; QuickTime records either the camera or the screen, and Cmd + Shift + 5 records the screen without including the webcam.
Can I use an external camera or an external microphone?
Yes, QuickTime Player and the Screenshot tool usually manage to automatically detect external cameras and microphones that are connected. You should choose them from the options menu of the tool you are using.
Why is the green indicator next to my camera on?
The green indicator is a macOS security feature. It lights up whenever an app accesses the Mac’s camera.
Where are my screen recordings saved?
By default, the Screenshot tool saves screen recordings to the Desktop. You can change this location before recording in the Options menu.
Can I record only part of the screen?
Yes. When using the Screenshot tool with Cmd + Shift + 5, select the Record Selected Portion icon.
Can I record my voice during a screen recording?
Yes. Open the Options menu in the Screenshot tool before recording, then select a microphone from the list.
Vasyl is a Product Marketing Manager at MySignature with experience in SEO and Growth. He has been featured on HubSpot, The Next Web, ActiveCampaign, and other well-known marketing blogs.
Your face and your screen, in one file
Sowiks records the screen with the camera as a movable bubble, then hands back a share link the moment you stop.
Download Sowiks for Mac