How to Screen Record on Mac: Complete Guide
If you're asking yourself how to take a screen recording on a Mac, macOS provides the facility to do so without the need for any additional software, and in most cases users won't require anything else. The difficult part is not usually getting started—with getting the audio right, keeping the file size reasonable, and understanding why the video stutters being the main issues. This guide looks at both the built-in options, the methods for capturing internal audio, and the most common problems together with their solutions.

On this page
Mac Screen Recording with the Built-in Tool
The Screenshot app was included on all Macs from the release of macOS Mojave 10.14; it is capable of taking static screenshots as well as recording video, and it is the quickest method:
- Press ⇧⌘5 to display the Screenshot toolbar.
- Select Record Entire Screen (which is the fourth icon) or Record Selected Portion (which is the fifth icon).
- Adjust the frame to cover the section of the screen that you have selected.
- Click Record to begin.
If you want to cancel before you click Record, press the Esc key. Alternatively, you can locate the app in Applications and then in Utilities; if you prefer not to use keyboard shortcuts, just drag its icon to the Dock and open it by clicking on it.
Screen record part of screen on Mac: settings to check first
The Options button in the toolbar contains everything that really changes the result:
| Option | What it does |
|---|---|
| Microphone | Choose a source for recording your voice. If you’re not using an external microphone, the Mac will use the one that’s built into it. |
| Show Mouse Clicks | This feature places a black circle around each click. It is essential for use in a tutorial but is switched off by default. |
| Timer | Provides 5 or 10 seconds before recording begins so that you have time to open the correct window or drop down a menu. |
| Save to | The desktop by default, but you can select a particular folder if you don’t want to sort the files later. |
| Format | For compatible Macs running macOS Tahoe 26 or later, you can select SDR (the most widely compatible option, using H.264 video) or HDR (using HEVC video and providing extended dynamic range). |
The files are given names such as "Screen Recording [date] at [time].mov" automatically.
When you use the microphone for one video don't forget to switch it off for the next one since an unnecessary audio track makes the file considerably bigger.
How to stop screen recording on Mac
There are three ways to stop, depending on what’s within reach:
- Click the square stop icon in the menu bar located in the upper-right corner.
- Press ⌘⌃Esc.
- Press ⇧⌘5 once more and then click the stop button on the Screenshot toolbar.
Many people only realize this problem after they have lost a recording: the thumbnail which appears in the corner of the screen doesn't indicate that the file has actually been saved. If you record several times in a row without interacting with the thumbnail, some of the recordings may never reach the desktop. To make the file save, open the thumbnail and click Done. Another useful point is that when you move the pointer over the thumbnail it remains on the screen rather than disappearing after a few seconds.
How to Screen Record with Audio on Mac
A Mac, by default, records the screen without any sound. You should remember to distinguish between two things that people frequently confuse: the microphone picks up your voice, whereas the internal audio captures the sound that the Mac itself produces. If you only use the first option, that will be sufficient for a voiceover or an explanation; but the second one is necessary when recording a game, a video, a call, or a webinar.
Record your voice with the microphone
- Open the Screenshot toolbar (⇧⌘5), or open QuickTime Player, then choose File and New Screen Recording.
- Click on two options and choose your microphone.
- Select the whole screen or part of it, then click Record.
A built-in microphone is worse than an external microphone, a USB microphone, or even an iPhone when it comes to sound quality. In QuickTime, there is a slider which enables you to listen to the audio as you are recording; should you detect feedback, reduce the volume or use a headset with a microphone. Also, if no sound is being recorded, you should first verify the selected source and then ensure that another programme hasn't already got control of the microphone.
Record internal system audio
For many years macOS had a weakness since the company provided no means of capturing system sound, a decision being made on copyright grounds. In that case, people had to make use of a virtual audio driver, and successive generations of users employed Soundflower, then Audio Hijack, and afterwards BlackHole.
That changes with macOS 27 Golden Gate: the built-in recorder, the one you open with ⇧⌘5, now offers system sound as an option. Apple did not even mention it during WWDC, and beta users spotted the feature. In practice, for most uses, you no longer need to install a third-party driver or launch OBS just to capture audio.
However, there are two points to bear in mind. Since the feature was present in the beta version, it is necessary to verify that it is actually available in the version of the programme installed on your Mac. You should also expect DRM-protected sources, such as streaming services, to remain silent since that is the normal behaviour on macOS and there is no indication that this is about to change. Furthermore, it should be noted that the built-in recorder still does not allow you to select the video resolution or quality.
Before macOS 27: use a virtual audio driver
In the case of an older version, what you have to do is set up a virtual audio output—the Mac sends its sound to this output and you then record that output as though it were coming from a microphone. BlackHole is free and works very well:
- Install BlackHole, which is a free virtual audio driver for Mac.
- Open Audio MIDI Setup, click the plus sign, and make a Multi-Output Device.
- Select BlackHole and your speakers on that device in order that you can still hear the sound while you are recording it.
- In the Screenshot toolbar or in QuickTime select BlackHole as the audio source.
Loopback, developed by Rogue Amoeba, achieves the same result but with a far more user-friendly interface and is capable of combining multiple sources, although the app is not free. Soundflower, which can still be found in some older tutorials, is no longer up to date and was designed for Intel Macs so do not start with it.
Screen Record on Mac with QuickTime Player
QuickTime Player comes preinstalled on every Mac and is still useful when you want to jump straight into a quick edit:
- Open QuickTime Player from the Applications folder.
- In the File menu, choose New Screen Recording, or press ⌃⌘N.
- To select a microphone, click the arrow that is next to the Record button.
- Click anywhere to record the whole screen, or drag to select the area.
- End by clicking the Stop button in the menu bar.
On more recent versions of macOS, QuickTime usually passes over to the Screenshot app; it is normal for the ⇧⌘5 toolbar to appear. The File menu also includes an option called New Movie Recording, and it is through this option that you begin recording yourself on a Mac — although QuickTime will offer you either the camera or the screen, not both in the same file.
Trim and export a Mac screen recording in QuickTime
QuickTime is not a full video editor, but it is enough to cut the beginning and end, which covers most quick touch-ups:
- First, open the recording you want to edit.
- Select Edit from the menu bar and then choose Trim.
- To specify the portion that you want to keep, pull the yellow handles at both ends.
- Check it with Trim and then save the file.
If you want to change the resolution, choose File and then Export As: 1080p, 720p, or 480p, and you can also select the option to export just the audio track. The iMovie programme is already included on your Mac and allows .mov files to be opened without any conversion.
Third-party Apps for Better Mac Screen Recording
The built-in tools are only suitable for occasional use; if screen recording becomes something you do on a daily basis—especially when you need to share it, add annotations, or edit it—then a dedicated app can actually save you time.
| App | Price |
|---|---|
| Sowiks | macOS, 7-day trial then free plan or paid |
| OBS Studio | Free and open source |
| Camtasia | Paid |
| ScreenFlow | Paid, macOS only |
| VMaker | Affordable subscription, free short videos |
| Loopback | Paid |
Sowiks
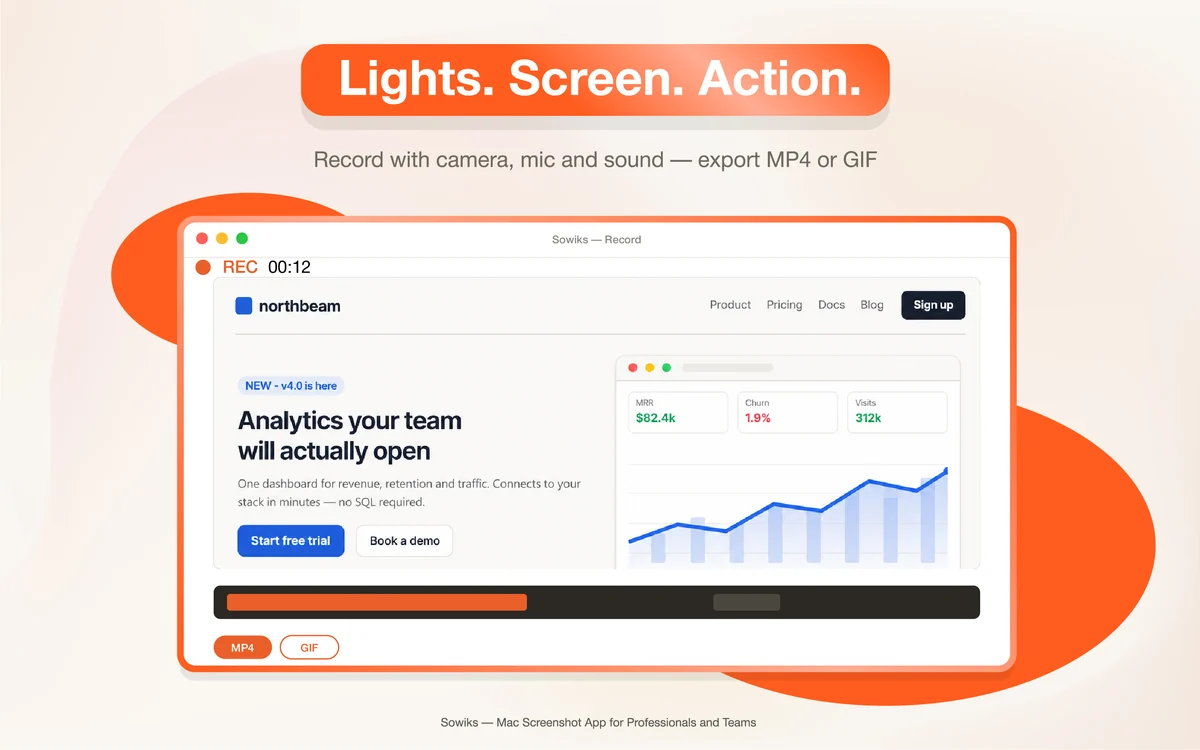
It appears in the menu bar, records the screen either as a video or as a GIF, saves all the material in a cloud gallery, and generates a share link which can be password-protected.
Watch out for: Built for daily back-and-forth with a team or client, not for editing.
OBS Studio
On macOS Ventura and newer versions, it captures internal audio and manages multiple sources, including framing at up to 120 frames per second.
Watch out for: A steep learning curve, high hardware demands, and no editing features.
Camtasia
The system's internal audio is recorded and the audio sources from certain windows, applications, and devices are mixed.
Watch out for: Expensive, but one of the most complete editors on the market.
ScreenFlow
It is designed for use in tutorials and demonstrations, featuring annotations, zooming, the ability to show multiple screens at the same time, and multitrack editing.
Watch out for: macOS only.
VMaker
It has an intuitive interface, internal audio, and a “record a window” feature which allows you to record only one application.
Watch out for: Longer videos need a subscription.
Loopback
It sets up a virtual device which combines the sound from any source and then shows up as an audio option in the Screenshot toolbar and in QuickTime.
Watch out for: It is not a recorder, but an audio router.
Fix Mac Screen Recording Problems
Here are the failures people actually run into, and what fixes them:
The Mac won’t record
It is usually due to a missing permission; on macOS Ventura or later, you should open the Apple menu, go to System Settings, select Privacy & Security, and then turn on the relevant app.
No sound in the video
Verify that the right microphone has been chosen in Options and also ensure that no other application has taken over the microphone. It is normal if you want to use system audio rather than your voice: refer to the section on internal audio.
The file is huge
The .mov format used by QuickTime results in files that are extremely large. The free program HandBrake can convert a .mov file into H.264 or HEVC and greatly decrease the file size without causing any visible deterioration of the image; it is also the simplest method of obtaining a shareable .mp4 file.
The video stutters
Before exporting, reduce the Mac's display resolution in the System Settings, under Displays, and also make sure to close any programmes that are running in the background.
The Mac gets hot
Running too many apps, tabs, or animations at the same time will have an effect. The only ones you should keep open are those that you are recording, since recording quality depends directly on this.
The image is not sharp
You can't set the bitrate on macOS, but you can do so using third-party applications. For 480p plan on at least 500 Kbit/s, 1 Mbit/s for 720p, 5 Mbit/s for 1080p and 20 Mbit/s for 4K.
The battery drains very quickly
Recording places a heavy demand on the processor, particularly when high-resolution audio is involved. If you're carrying out a long recording session, you should plug the MacBook into a power source.
The recorded window stays black
Certain apps, for example Apple TV, prevent the recording of their windows as a measure for protecting their content and there is no setting which can overcome this.
Before you share the recording, one more thing to do: check the material that appears outside the useful area. A screen recording also picks up notifications as they appear, open tabs, and the contents of the menu bar — which is why a menu bar manager is a useful tool when recording on a Mac. That is the most typical way an email address, a client’s name, or an amount might leak out; just as you would run the checks that apply before you send a screenshot, you should carry out the same checks before sending a video.
FAQ
How do you take a screen recording on a Mac?
Use Shift-Command-5 to open the Screenshot toolbar, where you can choose whether to capture the whole screen or a selected area; the only shortcut you need to remember is this one, since all other settings are in the toolbar.
How can I record only part of my screen on a Mac?
Select 'Record Selected Portion' from the toolbar, make any adjustments to the frame and then click Record. However, you are still allowed to move the frame before recording begins.
Can you use screen recording on a Mac including audio without using any third-party software?
Yes, starting with macOS 27 Golden Gate, where the built-in recorder offers system audio as an option. On earlier versions, you need a virtual audio driver such as BlackHole (free) or Loopback (paid).
On a Mac, where are screen recordings stored?
By default, they save to the Desktop as .mov files, named like “Screen Recording [date] at [time].mov.” You can change the destination folder in Options before you start recording.
How can I convert a .mov screen recording into .mp4?
HandBrake is free and converts the file to H.264 or HEVC while reducing its size. It’s the simplest option if you need to email the file or upload it online.
How do I stop a screen recording?
Click the square icon in the menu bar, or press Command-Control-Esc. Then open the thumbnail in the corner of the screen and click Done to make sure the file is saved properly.
How do I edit a screen recording?
QuickTime is enough to trim the beginning and end: choose Edit, then Trim. iMovie, which is already installed, handles more complete editing, and tools like Camtasia or ScreenFlow add annotations and zooms.
Why doesn’t my Mac record sound by default?
Because the microphone stays off until you select it in Options. That’s intentional: it prevents you from accidentally recording an entire room and keeps files smaller.
Vasyl is a Product Marketing Manager at MySignature with experience in SEO and Growth. He has been featured on HubSpot, The Next Web, ActiveCampaign, and other well-known marketing blogs.
From recording to link, in one step
Sowiks records the screen as video or a GIF from the macOS menu bar and hands back a share link the moment you stop.
Download Sowiks for Mac